Potting Shed
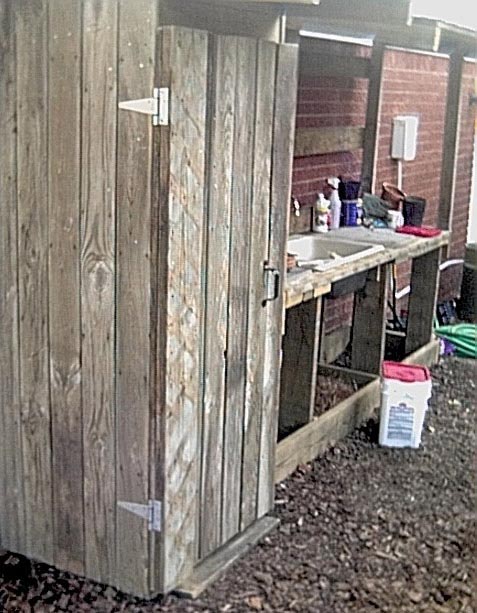
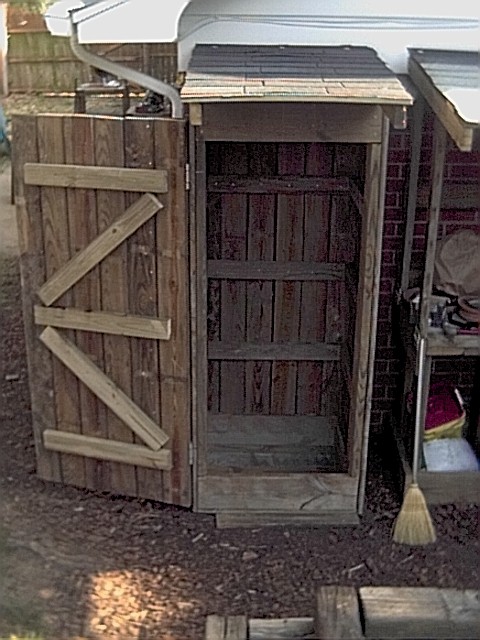
I have the plans as a PDF and as a PPT. The following instructions should be used in conjunction with the PDF document.
Before beginning this project please take a look at the following pages. These pages contain things about simple carpentry I learned. When you are finished you can visit the Main Page:
1) Wood Is Not The Size They say it is
2) The right tools are important, and they really don't cost that much
3) Technique, a few hints and tricks help make the job go easier.
Rose had many bags of 'things' sitting around and items that she used once a year that really needed to stay dry. Stakes, garden cloth, fertilizer, etc. I decided to make her a potting shed to store all of these out of the weather to keep then dry. Or if you need an outhouse this design can easily be adpated for that ;-).
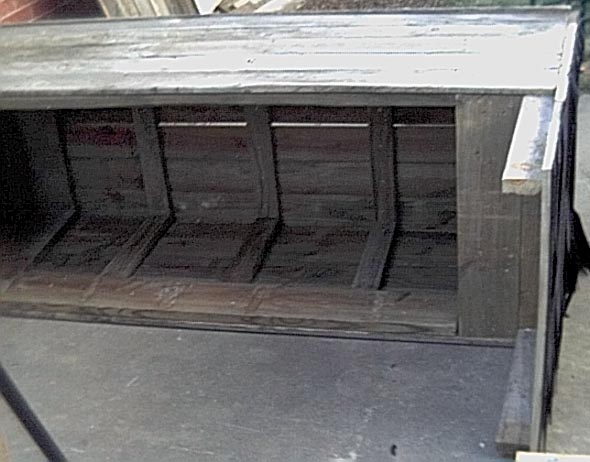
Page 1 - First we make the top and bottom bottom frames as seen on the lefthand side of page 1. The bottom frame will have a floor so that you can set things in the bottom without worrying about them getting dirty or wet. Cut four 31 X 1.5 X 7.25" boards and cut four 24.5 X 1.5 X 7.25" boards. Find a nice level surface with a step. Place a 31 X 1.5 X 7.25" board up against the step. Next put the two 24.5 X 1.5 X 7.25" boards up against the 31 X 1.5 X 7.25" board. Finally put the second 31 X 1.5 X 7.25" board up against the two 24.5 X 1.5 X 7.25" boards. You should have what looks like the top left side of page 1. Using 2.5" deck screws and keeping this frame square, screw the front 31 X 1.5 X 7.25" board into the two 24.5 X 1.5 X 7.25" boards. Turn the entire frame around so that what was the front broad is now braced against the step and screw the other 31 X 1.5 X 7.25" board into the two 24.5 X 1.5 X 7.25" boards. You should now have a nice square. Repeat theis procedure to make a second frame. Now cut five 31 X 1 X 5.5" boards . These will be the floor of your bottom frame. Attach them to the bottom frame as shown on the bottom left of page 1. When you attach the boards on the bottom, make sure that the boards are flush with all four sides of the frame. I had a little bit of the last board lap over the edge of the frame (as you can see in the next picture) and later used my jigsaw to make it flush with the frame. If this happens trim the extra off of the frame. If you don't when you attach the long boards on page two they will not fit correctly and make the shed "lean". Your frames should now look like:
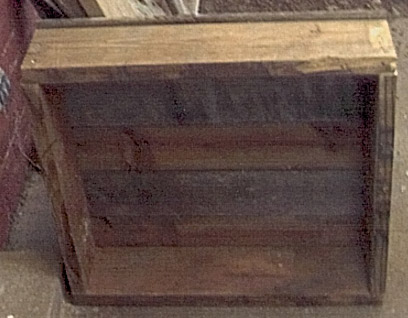
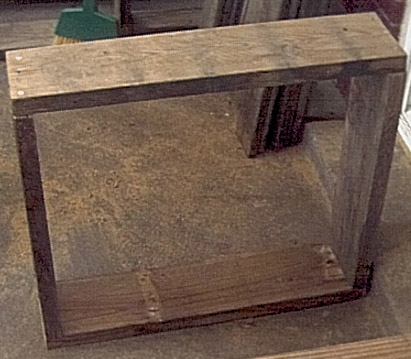
Page 1 (continued) - Now cut two 63.75 X 1.5 X 7.25" boards. These two boards will help support the door later and act as a spacer to make sure that everything is even.
Page 2 - Cut sixteen 85 X 1 X 5.5" boards. These will be the outer walls of the shed. Place the top frame and the bottom frame on a large flat surface with your two "spacer" boards between them. Now place six of the 85 X 1 X 5.5" boards on top. The 85 X 1 X 5.5" boards you put on the top and bottom frames should overlap about 1" on each side. Secure the boards to the top and bottom froame with 2" or 2.5" deck screws. It should look like:
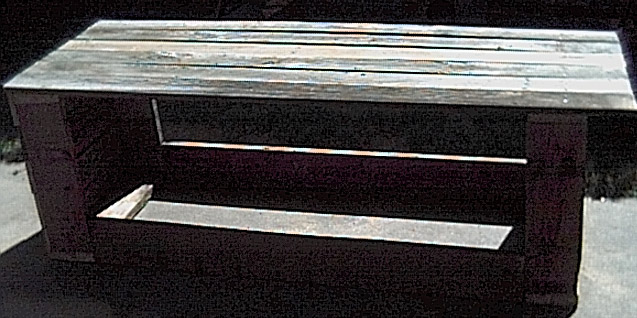
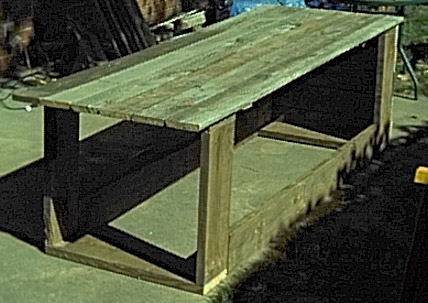
Page 2 (continued) - Now stand the unit upright and place five of the 85 X 1 X 5.5" boards on the side and secure them to the frame and to the 63.75 X 1.5 X 7.25" spacer board installed at the corners. I used some scrap wood (and of course removed them when all the boards were secured) and a few deck screws to hold the spacer boards in place while I secured the five 85 X 1 X 5.5" boards:
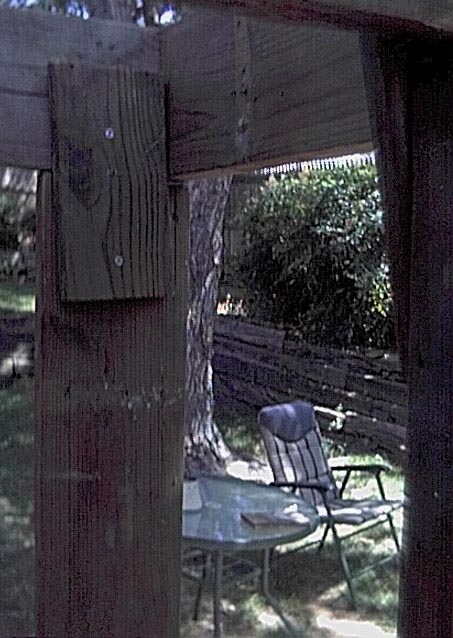
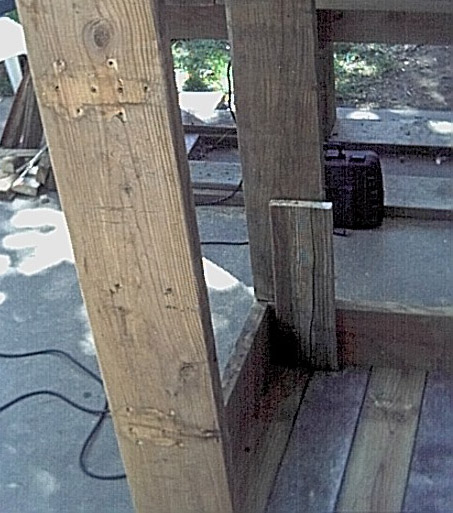
Page 2 (continued) - Do the same with the other side. It should now look like:
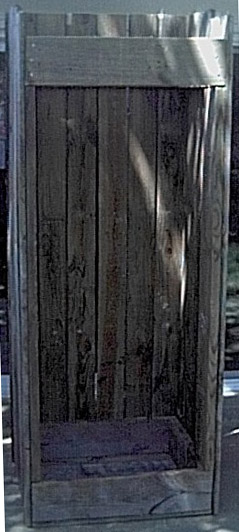
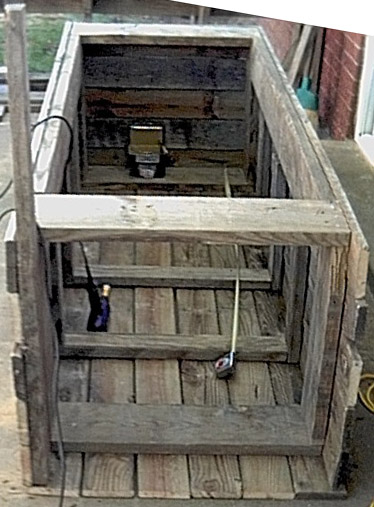
Page 2 (continued) - Now make the inside shelf support boards. In addition to their obvious function these boards also help keep the outside boards from warping. For each of the inside shelf support boards (I made three sets of supports) cut two 20 X 1.5 X 3.5" boards, one 28 X 1.5 X 3.5" board and finally the actual shelf boards, three sets of three 31 X 1 X 5.5" boards. I placed them as shown on page 2 but feel free to makes the shelves higher or lower as you would like. Your project should now look something like this:
Page 3 - Cut two 48 X 1.5 X 3.5" boards and one 28 X 1.5 X 3.5" board. This will be your roof support. Secure the two 48 X 1.5 X 3.5" boards as shown. Now secure the 28 X 1.5 X 3.5" board on the top frame (hopefully this will help keep some of the bugs out of the potting shed).
Page 4 - Cut the 85 X 1 X 5.5" boards on the sides with a jigsaw so that they are even with the two roof supports. Cut nine 33 X 1 X 5.5" boards. These will be the boards that you will attach the shingles to. Attach the shingles, you will need eight shingles for this project. For a discussion on shingles see the instructions on the page for making a potting bench. Your shed should now look like:
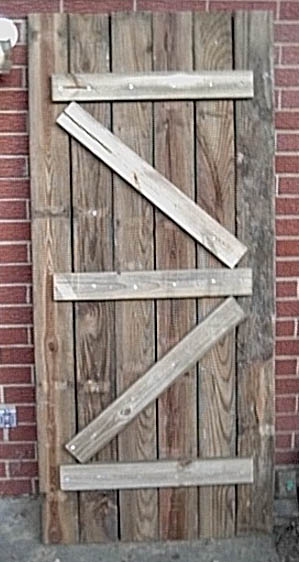
Page 5 - Now make the front door. Cut six 74 X 1 X 5.5" boards. Lay them down up against your step so that the tops are all even. Cut three 27 X 1.5 X 3.5" boards and two 31 X 1.5 X 3.5" boards. Place these boards as shown on the left hand side of page 5. Secure the 1.5 X 3.5" boards to the 1 X 5.5" boards with enough deck screws that all boards are held together. Now flip the door over and secure all the 1 X 5.5" boards to the 1.5 X 3.5" boards. I put about two deck screws for every spot where the 1 X 5.5" boards touched the 1.5 X 3.5" boards. Now cut your 74 X 7.25 X 3.5" board. Secure this board to the door as shown on the right hand side of page 5, secure the board by screwing the deck screws in from the two outermost 1 X 5.5" boards down into the 74 X 7.25 X 3.5" board. Again, be generous with the deck screws as this 74 X 7.25 X 3.5" board, this is the board you attach your hinges to and this board will support the entire weight of the door. Your door should now look like:
Page 6 - Now attach the door to the potting shed. I found this easiest to do if the potting shed was lying on its back. You can attach the door so that it opens either left or right. Page 6 shows the door opening from the right, but to open from the left just rotate the door 180 degrees and attach the hinges on the right hand side. I used two 6" hinges to attach the door to the left hand side. I should have put a couple of small shims (1/8" to 1/4") in between the door and the potting shed when I attached the hinges. When I stood the shed upright the wood had swelled a little and I had to shave off the side board that the hinge was attached to so that the potting shed door would close completely and easily against the shed. This is what it looked like when I attached the hinges:
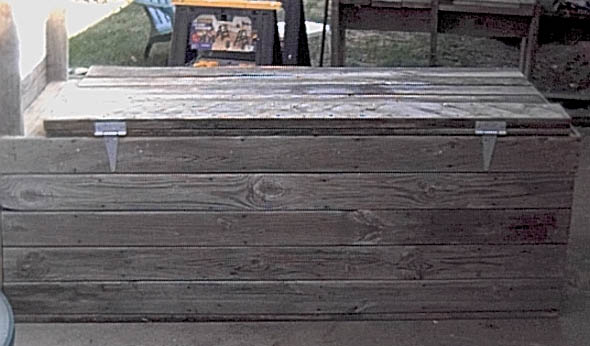
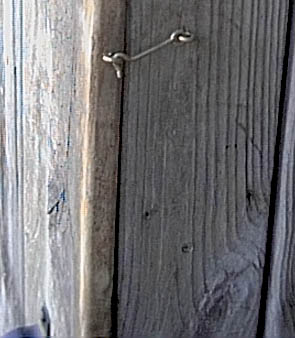
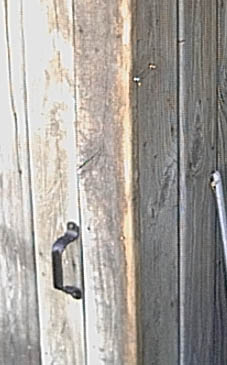
Finally attach the latch on the other side (I used a swivel hook and a eye bolt, see below), stand your potting shed up (good luck, I suggest two or three fairly strong people). Put your shelves inside and your handle on the front and you are ready to go.
